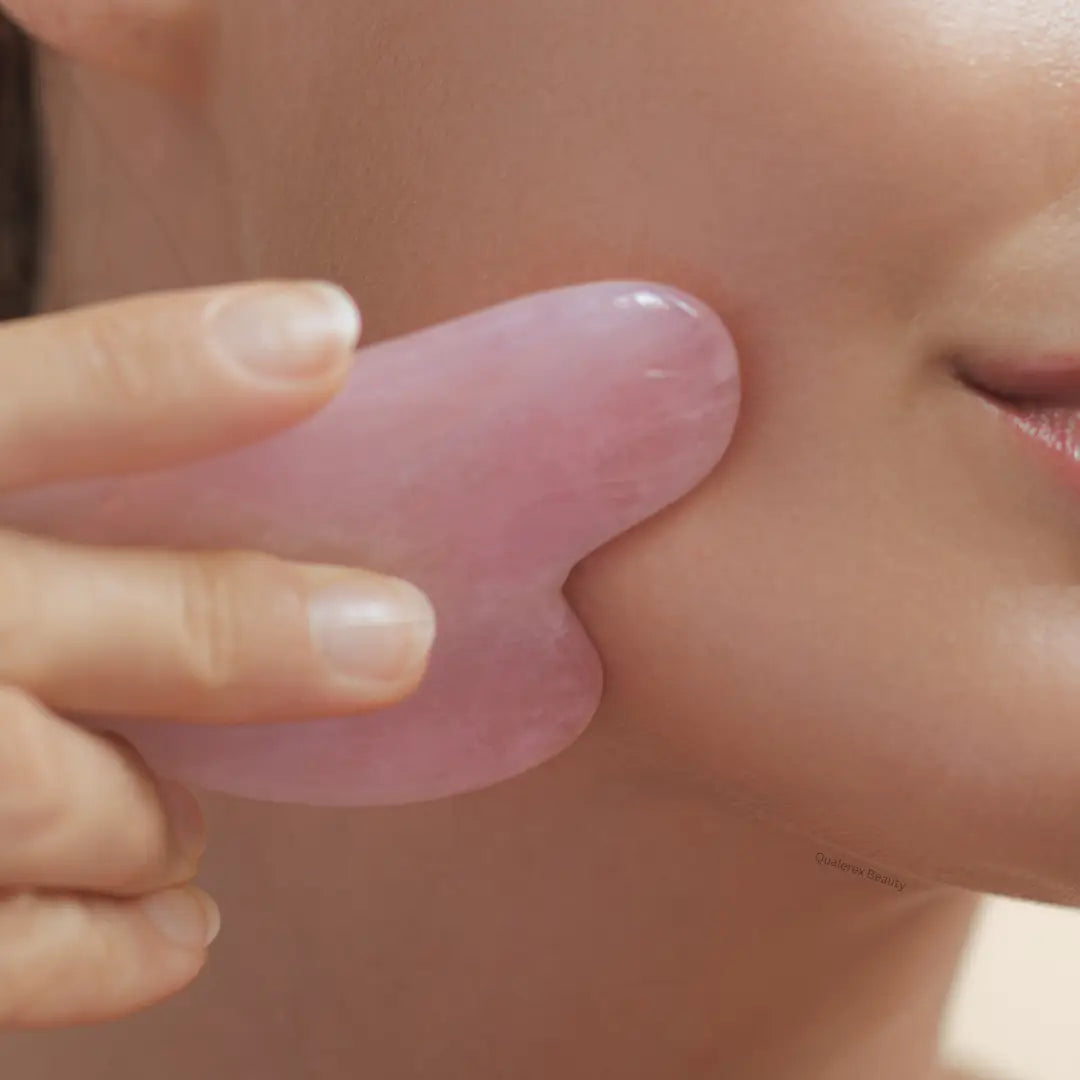
Gua Sha involves gently scraping the skin with a smooth-edged tool, typically made of jade or rose quartz. The term "Gua" means to scrape, and "Sha" refers to the red rash or petechiae that can appear as a result of the treatment. For facial Gua Sha, the approach is much gentler, focusing on stimulating blood flow and promoting lymphatic drainage.
Benefits of Gua Sha
1. Improves Circulation: Enhances blood flow, delivering more oxygen and nutrients to the skin.
2. Reduces Puffiness: Encourages lymphatic drainage, reducing puffiness and swelling.
3. Firms and Lifts: Regular use can tone the facial muscles and improve skin elasticity.
4. Brightens Complexion: Increased circulation leads to a more radiant, glowing complexion.
5. Reduces Wrinkles: Promotes collagen production, helping to reduce fine lines and wrinkles.
How to Perform Gua Sha on the Face and Neck
What You'll Need:
- Gua Sha tool (jade or rose quartz)
- Facial oil or serum
Steps:
1. Prepare Your Skin:
- Start with a clean face. Wash your face with a gentle cleanser and pat dry.
- Apply a generous amount of facial oil or serum to your face and neck. This ensures the tool glides smoothly over your skin.
2. Warm-Up:
- Begin with gentle stroking motions to warm up the skin. Use the flat side of the Gua Sha tool.
- Start at the neck, moving upwards in long, slow strokes to the jawline.
3. Neck:
- Use the Gua Sha tool in upward strokes from the collarbone to the jawline.
- Apply light to medium pressure, adjusting based on your comfort level.
- Repeat each stroke 5-10 times.
4. Jawline and Chin:
- Place the tool at the center of your chin.
- Sweep it along your jawline, moving towards the ear.
- Repeat on both sides, 5-10 times per side.
5. Cheeks:
- Start at the nose, gliding the tool outward towards the ear.
- Use the curved side to hug the contours of your cheekbones.
- Repeat 5-10 times on each side.
6. Under Eyes:
- Use a gentle touch here. Place the tool at the inner corner of the under-eye area.
- Sweep outwards towards the temple.
- Repeat 5-10 times on each side.
7. Forehead:
- Begin in the middle of your forehead, gliding the tool towards the hairline.
- Work your way outwards towards the temples.
- Repeat 5-10 times, focusing on smoothing out any lines.
8. Cooling Down:
- Finish by using light, sweeping motions to cover the entire face, ensuring even distribution of the product and stimulating overall circulation.
Tips for Best Results
- Frequency: Aim to use Gua Sha 2-3 times per week for optimal results.
- Pressure: Use light to medium pressure; the tool should glide smoothly without pulling the skin.
- Cleanliness: Clean your Gua Sha tool before and after each use to prevent bacteria buildup.
Final Thoughts
Incorporating Gua Sha into your skincare routine can be a game-changer, bringing noticeable improvements in your skin's texture and tone. It's not just a beauty practice but a relaxing ritual that promotes overall well-being. With consistency and the right technique, you'll be on your way to achieving a more youthful, radiant complexion.
Give it a try, and let the ancient wisdom of Gua Sha transform your skincare routine!

